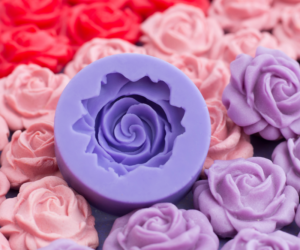
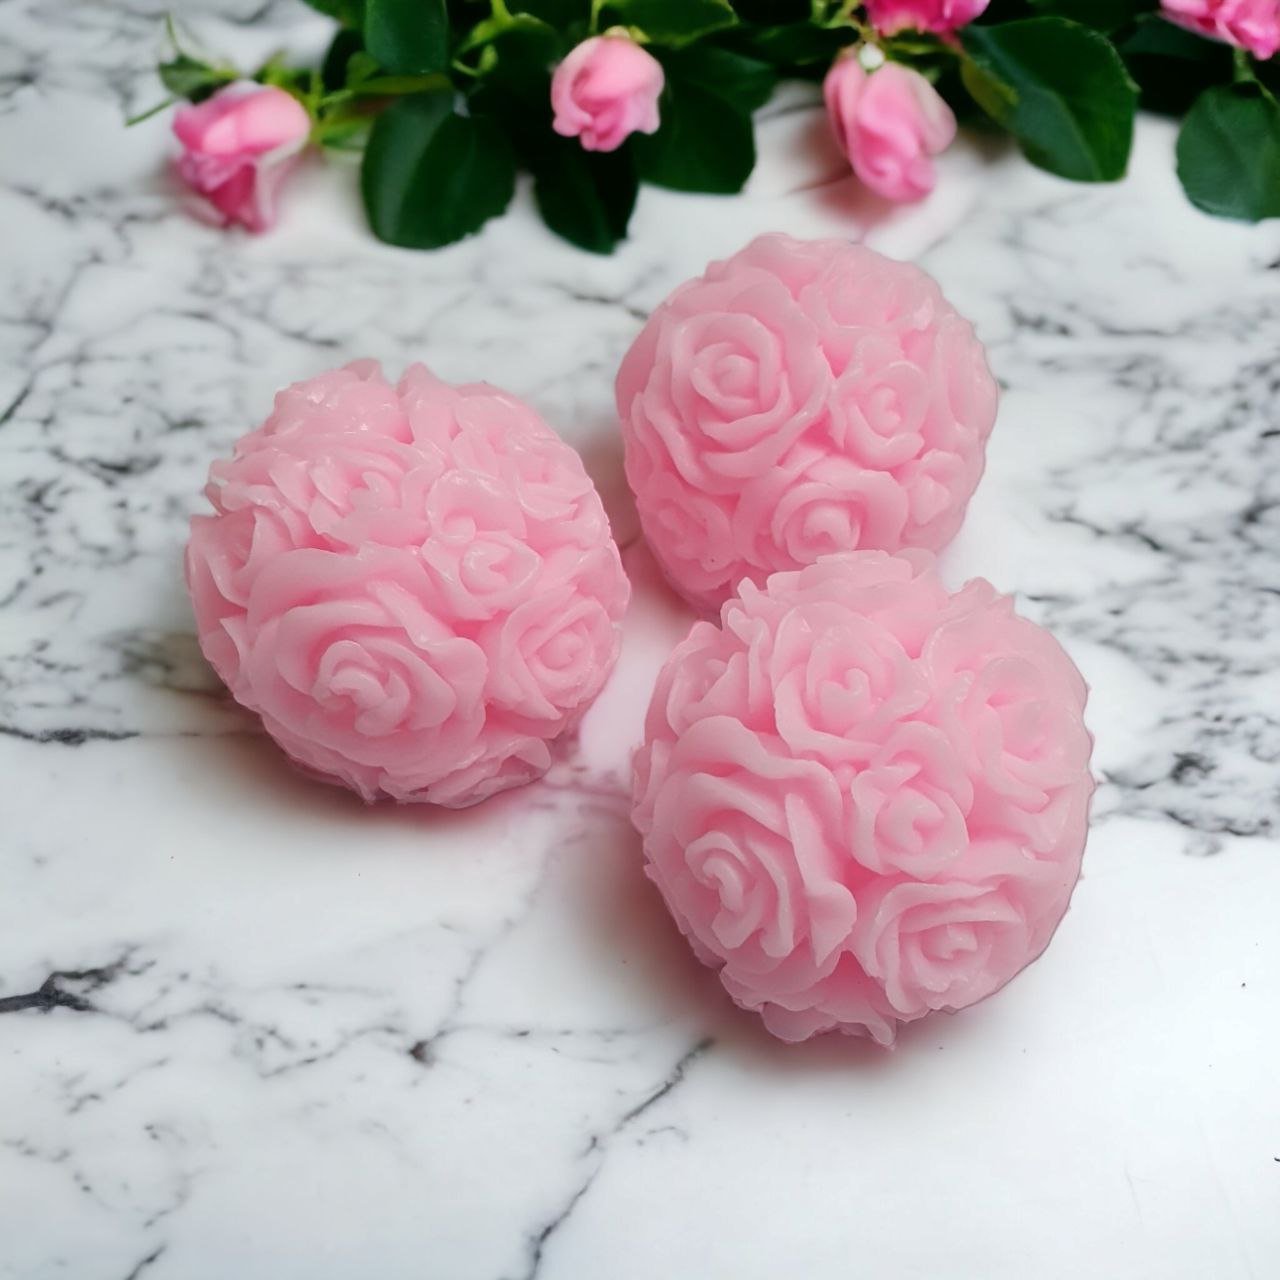
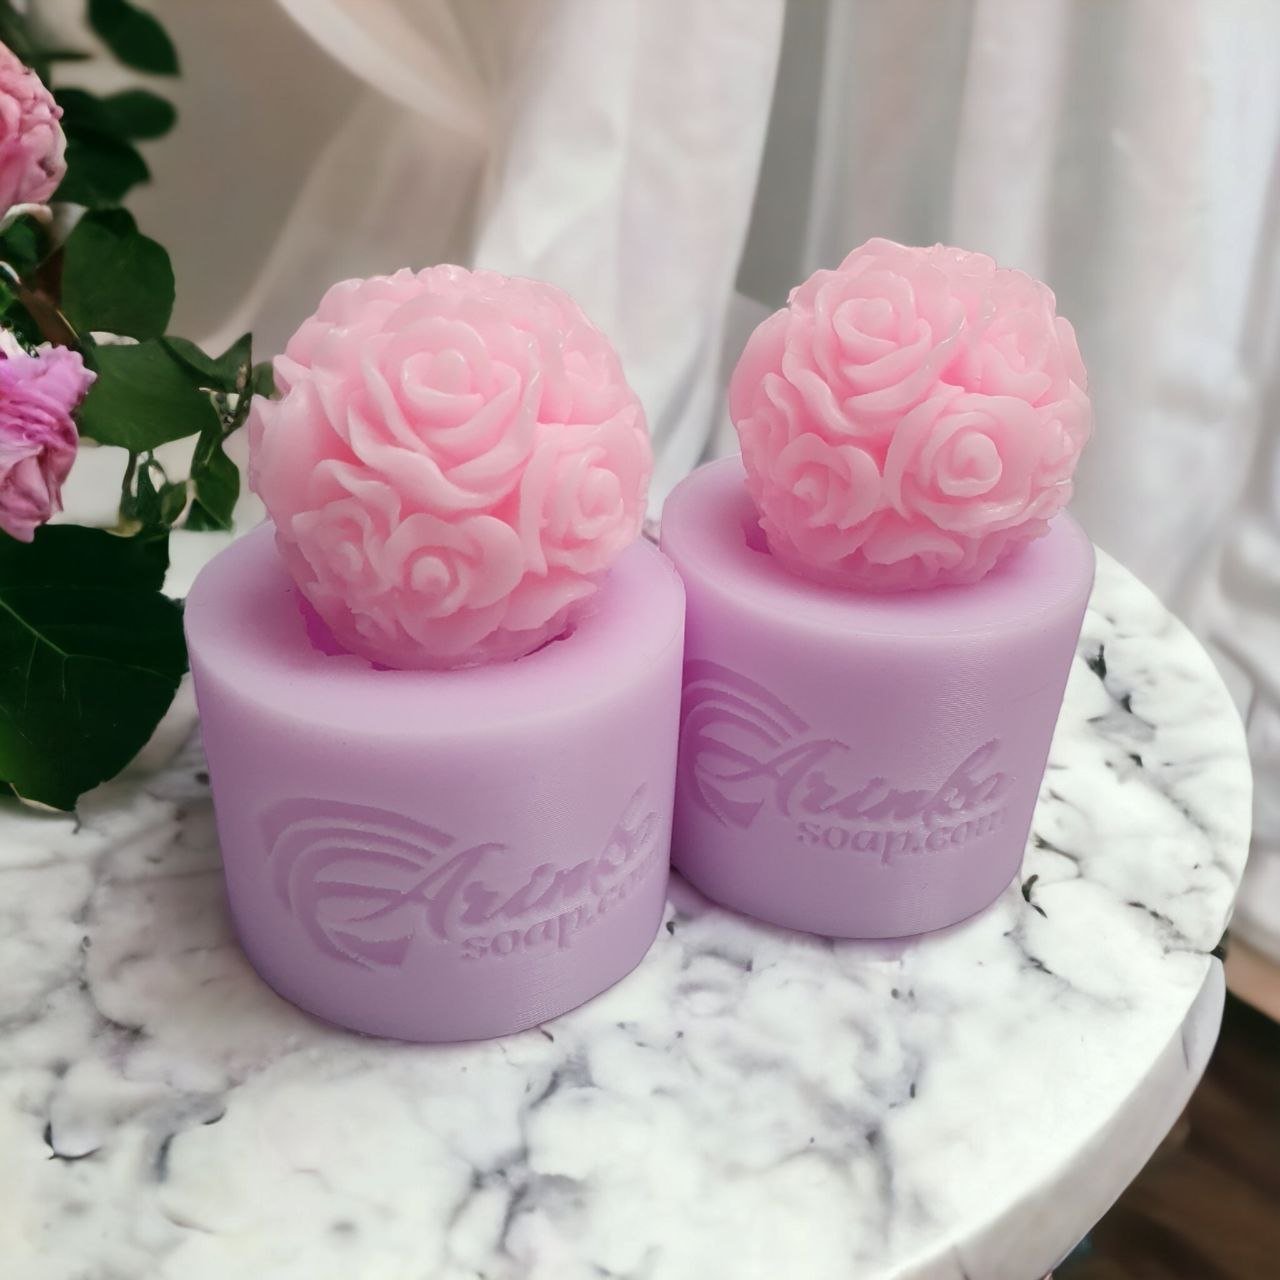
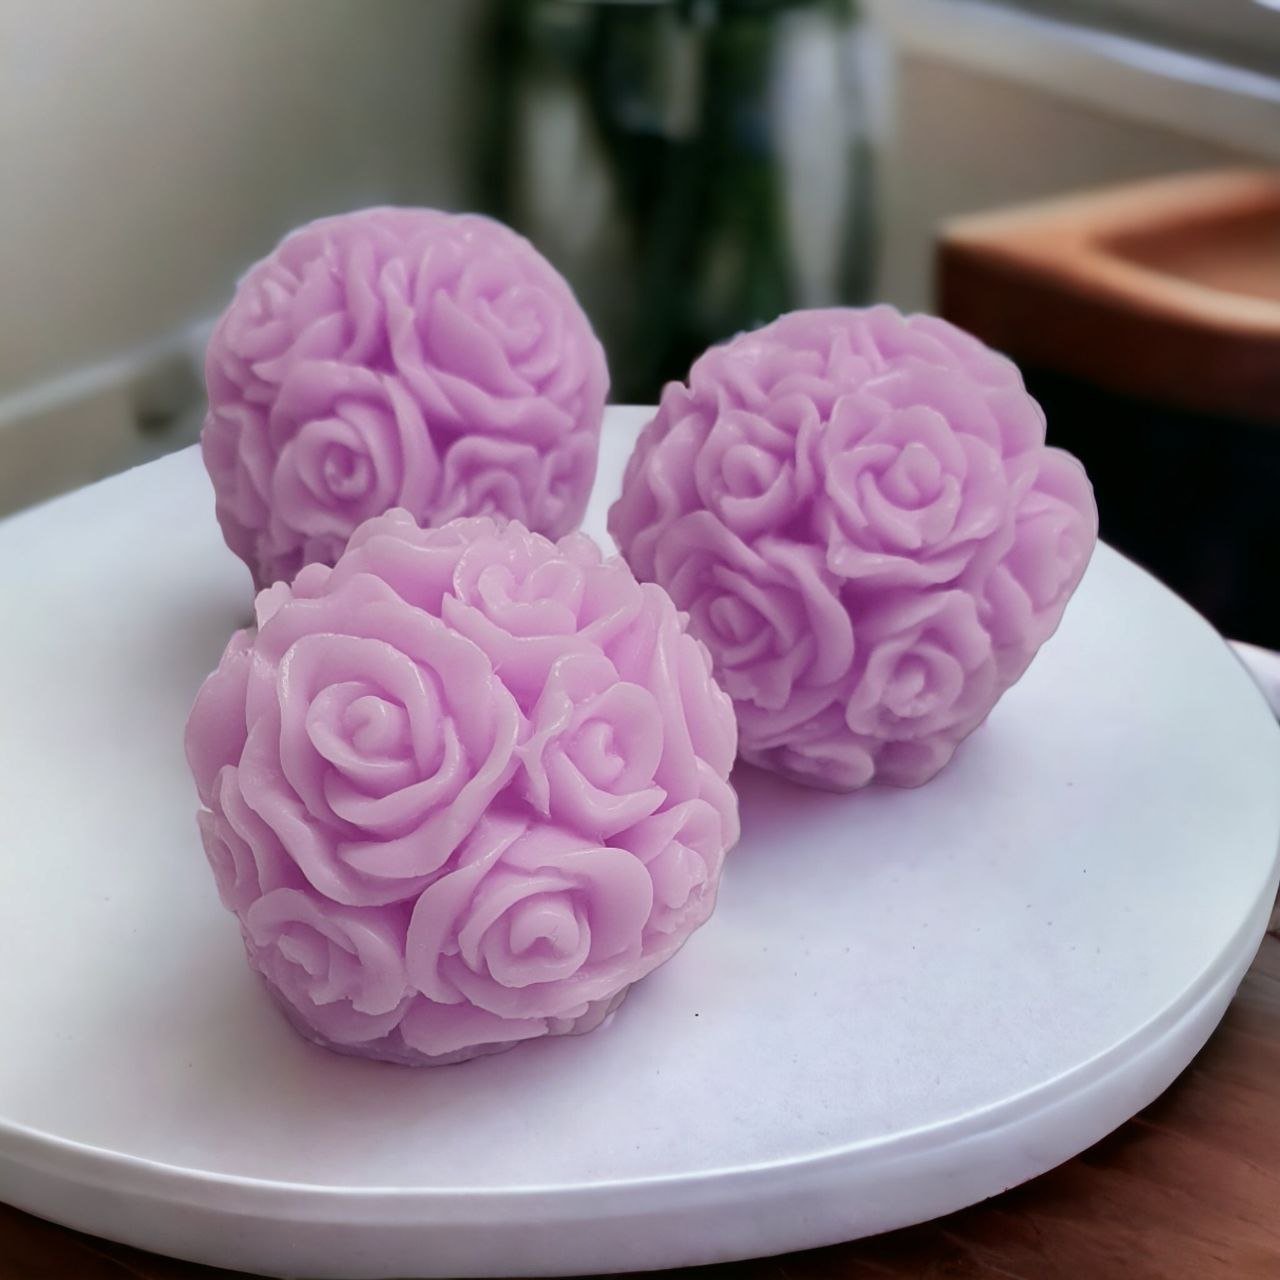
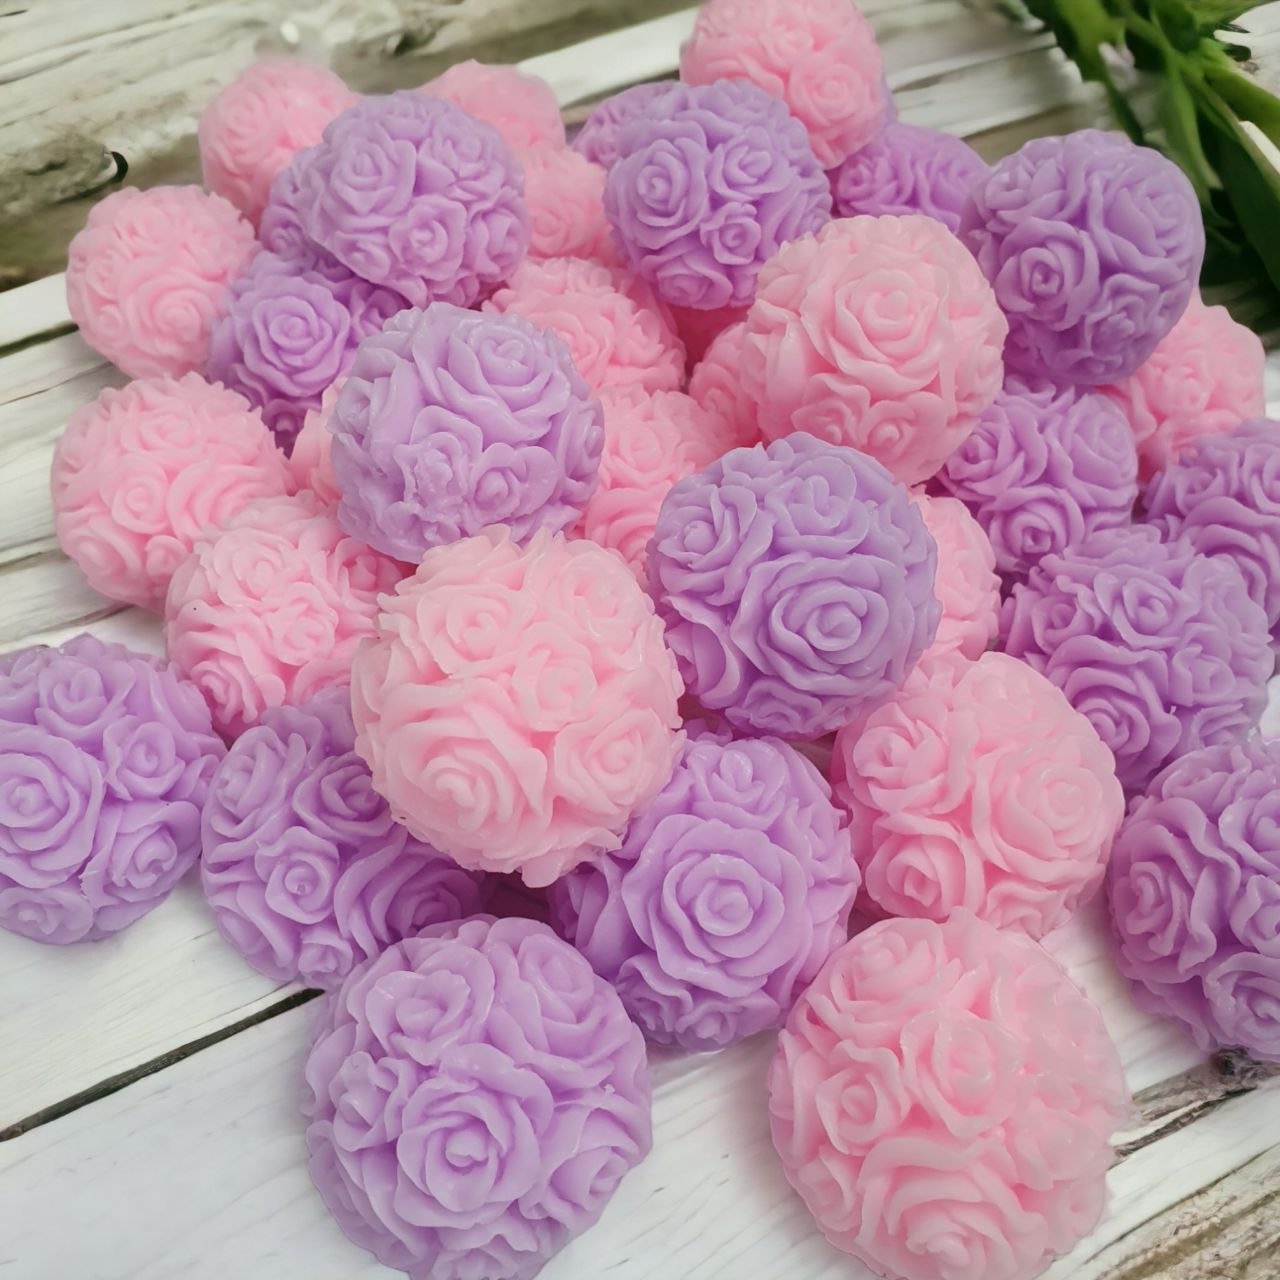
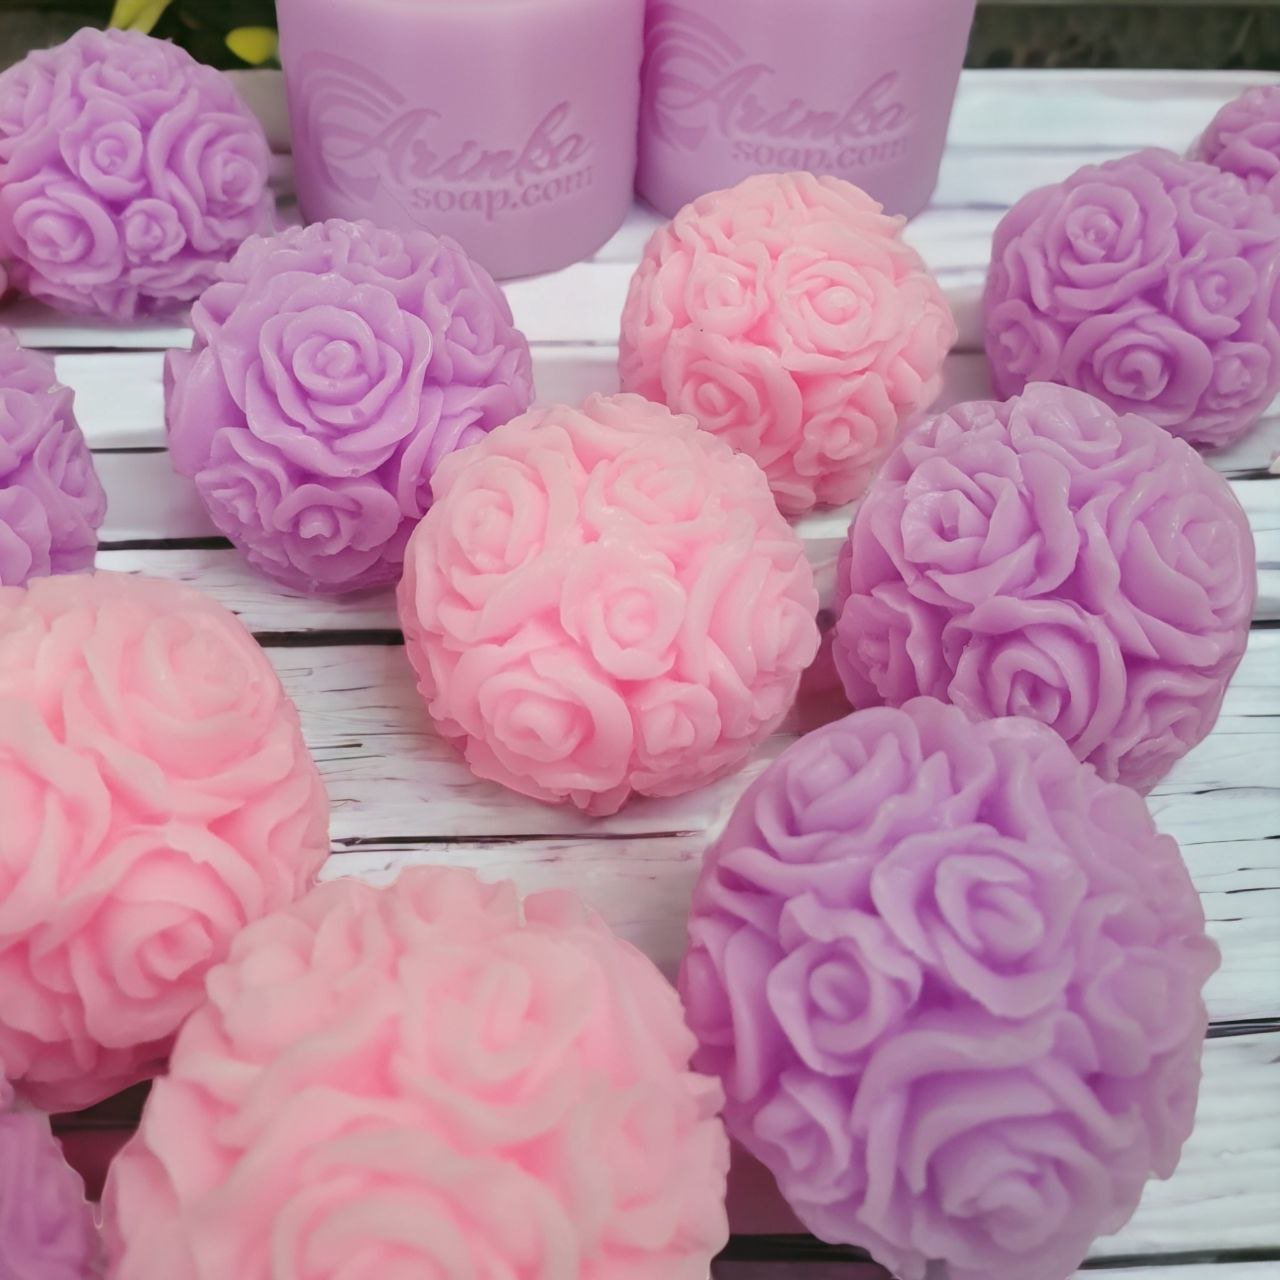
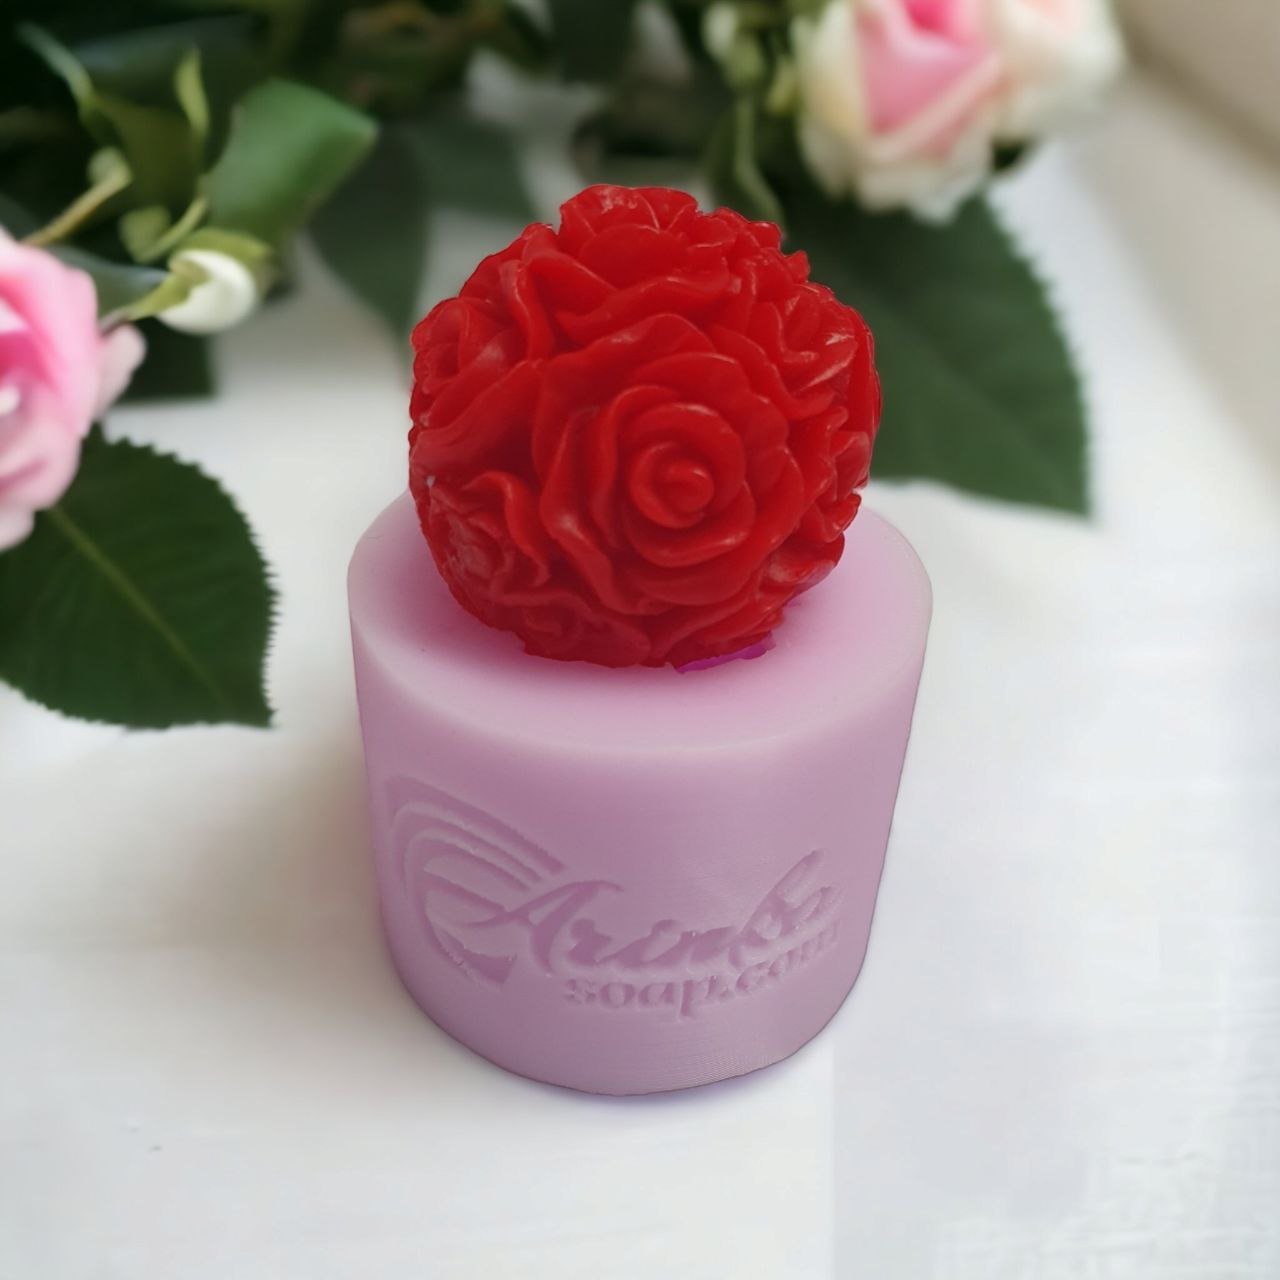
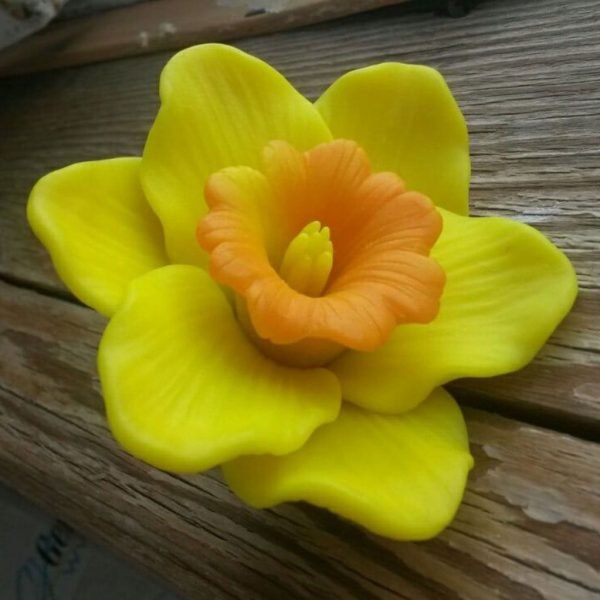
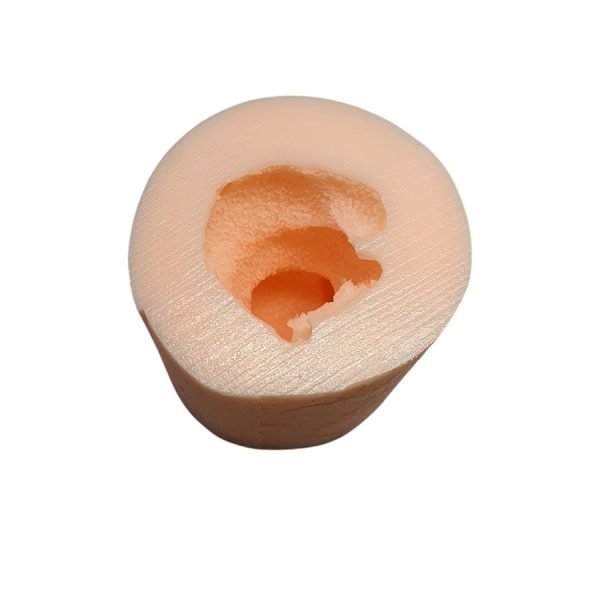
Effortlessly create beautiful rose-shaped masterpieces, making it a favorite among those looking to craft original wedding favors or baby shower thank-yous. The high-quality material ensures a smooth and easy casting process, making it an enjoyable experience for both beginners and experienced craftsmen. Make every celebration unforgettable with the elegance of the Rosebud.
Discover the perfect choice for your creative projects with our high-quality silicone molds! The advantages of using our silicone molds are numerous:
- High-Quality Materials: Crafted from premium European silicone for guaranteed durability and stability during use.
- Thorough Processing: Each mold undergoes a vacuum treatment to eliminate potential air bubbles, resulting in a perfectly smooth surface for your creations.
- Durability and Elasticity: Thanks to their robustness and elasticity, our molds can withstand hundreds of castings, making them ideal for long-term use.
- Easy Removal from the Mold: (Usually) Two lateral cuts in the mold ensure easy removal of your product without damage. The included elastic bands facilitate attachment.
- Wide Temperature Range: Our molds can withstand temperatures from -10 to +220 degrees, making them versatile for various creative projects.
- Easy to Maintain and Clean.
Suitable for Various Forms of Creativity:
- Soap Making (MOLD TYPE B): Create unique soap shapes to give your products a special look.
- Candle Making (MOLD TYPE B): Easily make candles of different shapes and sizes, giving shape to your creative ideas.
- Epoxy Art (MOLD TYPE A and TYPE B): Create clear (MOLD TYPE A) and matte (MOLD TYPE B) creations, with space for your own creativity.
- Plaster and Concrete Casting (MOLD TYPE B): Create decorative elements for the interior with various materials.
- Pastry Arts (MOLD TYPE A): Make unique fondant, marzipan, gum paste, chocolate, gelatin, ice, butter, candy, and add your own individuality to each dessert.
Check out our inspiring tutorials on TikTok Soapmaking ArinkaSoap
Have a creative idea? Contact us, and we’ll be happy to help bring it to life!
Making Your Own Soap:
- Spray the silicone mold with alcohol.
- Secure the mold with elastic bands (if the mold has special cuts).
- Pour the soap base into the mold.
- Gently shake the mold to remove air bubbles.
- Store the mold in a cool, shady place until the soap has completely hardened (1-2 hours).
- Remove the elastic bands and gently peel the edges of the mold from the soap.
- Enjoy the result ❤.
Making Your Own Candles:
- Heat the chosen wax according to the manufacturer’s instructions.
- Add dyes and fragrances as desired and mix the wax well.
- Pierce the silicone mold with a needle and thread the wick through.
- Secure the mold with elastic bands (if the mold has special cuts).
- Lightly sprinkle the mold with olive oil or silicone spray for easy removal (if necessary).
- Carefully pour the melted wax into the silicone mold, ensuring the wick is in the center (you can secure it if needed).
- Let the candle cool until fully solidified. This usually takes several hours (follow the instructions on the wax packaging).
- After complete solidification, remove the elastic bands from the mold and take out the finished candle.
- Enjoy the pleasant light and fragrance of your homemade candle ❤.
Making Your Own Epoxy Art:
- Measure the required amount of epoxy resin and hardener according to the manufacturer’s instructions.
- Mix the components carefully in a clean container, paying attention to the specified processing time in the instructions.
- Add dye or glitter to the epoxy resin as desired and mix well for an even color distribution.
- Secure the mold with elastic bands (if the mold has special cuts).
- Spray the silicone mold with a release agent to easily remove cured epoxy resin from the mold.
- Pour the epoxy resin gently into the silicone mold.
- Use a torch to gently pierce and remove any air bubbles in the epoxy resin.
- Wait for the epoxy resin to fully cure according to the specified curing time.
- After complete curing, carefully remove the elastic bands from the mold and take out the product. If the epoxy resin has cured well and you used a release agent, the product should easily come out of the mold.
- Enjoy your handmade epoxy creation ❤.
Note! For a matte finish, order MOLD TYPE B. For a transparent finish, order MOLD TYPE A.
Making Your Own Plaster Creation:
- Prepare the plaster mixture according to the instructions on the packaging. This usually involves mixing plaster powder with water. Add special dye if desired.
- Secure the mold with elastic bands (if the mold has special cuts).
- Carefully pour the plaster mixture into the silicone mold. Ensure even distribution of the material over the entire mold.
- Tap the mold on the work surface to remove any air bubbles in the plaster.
- Let the plaster fully harden according to the instructions on the packaging.
- Remove the elastic bands and gently take out the finished plaster object from the silicone mold. Use a release agent if necessary for easy removal.
- Sand if necessary and varnish with the special product to achieve the desired appearance and texture.
- Enjoy the result ❤.

